Almost eight years ago, my life sort of went downhill.
I got sick.
Not the regular sickness. Not the flu or a cold. But nothing super serious like cancer either. It was something in between. Let’s call it moderately severe. How’s that?
I was diagnosed with GERD. Moderately severe GERD. In layman terms, it means that my food from my tummy along with the acids go back up my esophagus, thereby sizzling it. I was unable to eat well. I was in pain most of the time.
On top of that, my body decided to protest even further against my cumulative horrendous eating and sleeping habits and the non-existent exercise regimens. I developed Coccydynia just a few weeks after the announcement of my esophagus being fried. Coccydynia is pain in the ‘tailbone’ area. That means lying down and sitting is a pain… in the ass (literally).
A couple of years later, after many rounds of different treatments both western and alternative, I no longer had GERD but my Coccydynia improved only miniscule-ly. To make matters worse, all the stress from the pain caused another problem. I started to develop acute pain around my lower abdomen. This too lasted years and took much trial and error to fix.
It’s interesting to write this because I can sum up the condition and the pain in a couple of sentences now, but looking back at those days when the pain was so severe, I often wondered if I’d ever have a pain free day or if I’d ever get better. I couldn’t even stroll in a mall for 10 minutes without needing to sit down to rest. I remember being in the car looking out at people passing by and thinking how lucky they were to be pain free… how lucky their bodies were able to let them experience in life. To do anything, really… and yet people are just living their mundane lives. Sickness gave me an appreciation for life’s simplest things.
Like any other sane sick person would do, I, too changed my eating habits.
No instant noodles. A big thing for Asians, okay?
No cold stuff. That means no ice cream, no cold cakes, no cold beverages… No.Cold.Anything.
No soda.
No processed food. Oh, spam…..
With so many new Noes in life, I had to find new Yeses. I started to look for good healthy food. But right in the beginning, I refused to believe that healthy food has to taste bland.. or worse, taste like crap. It has to be SUPER delicious. Period.
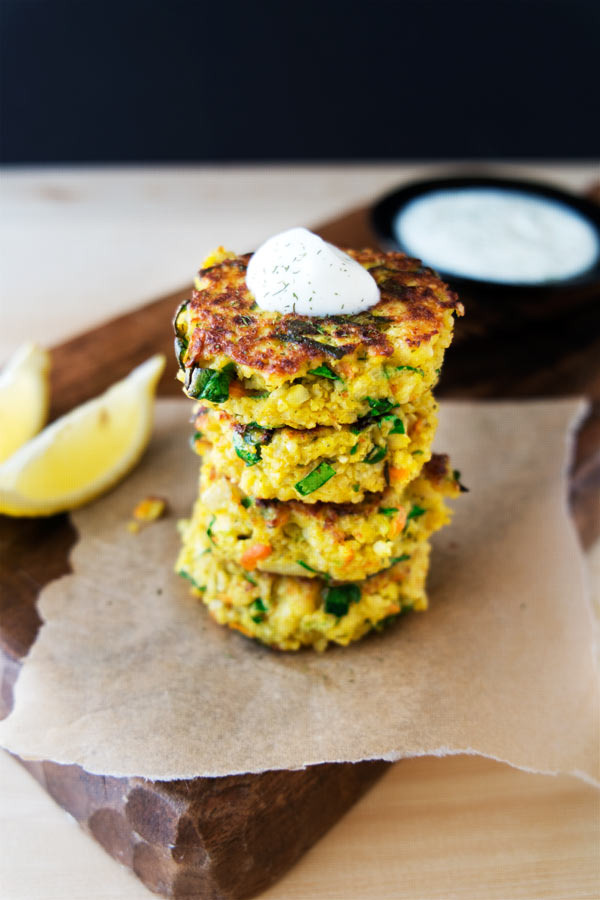
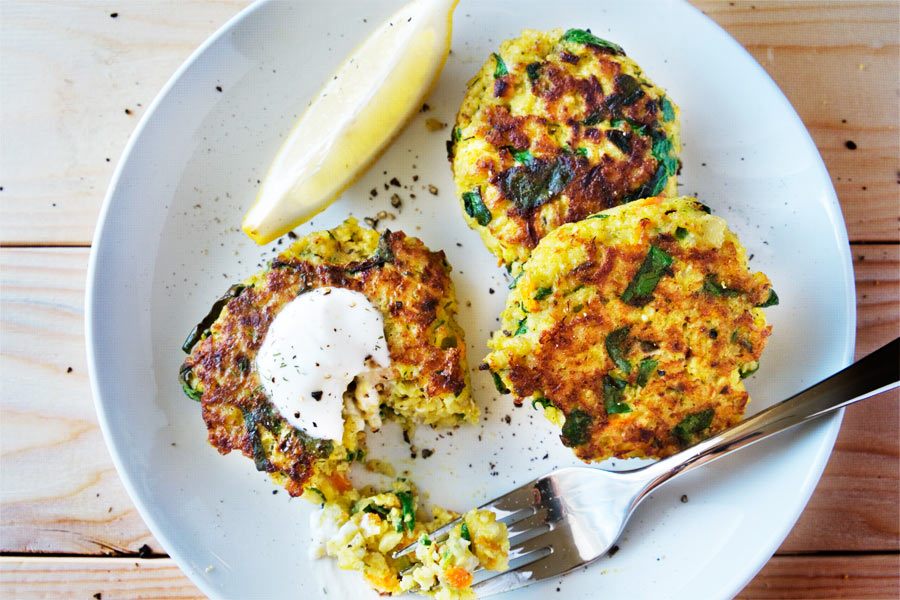
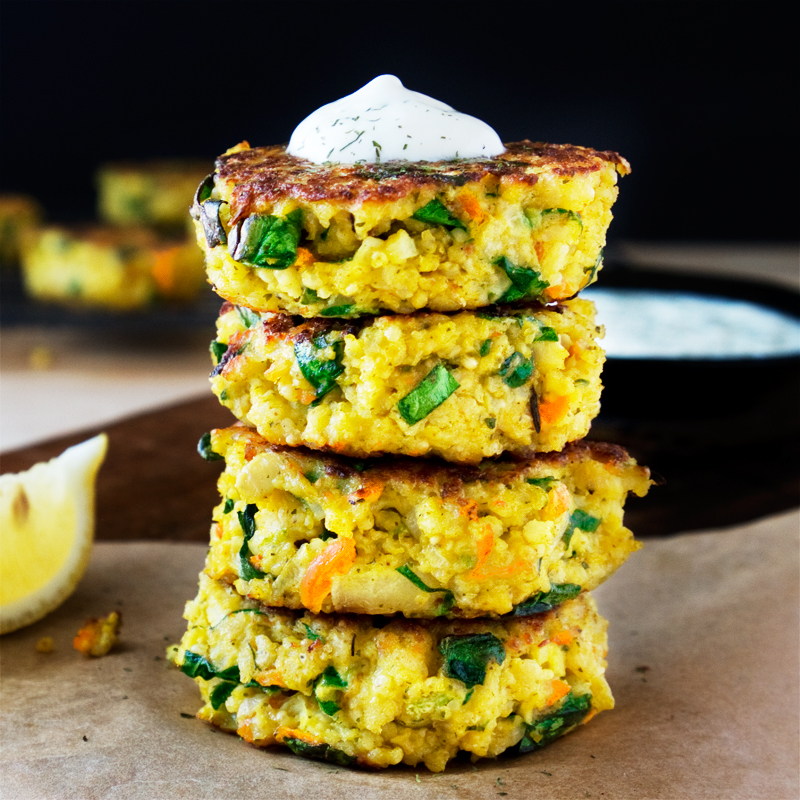
And that, guys… was how these millet patties babies were born. These are no meat patties, but damn they’re good. These babies were always among the first to be cleared out at pot luck parties. No exaggeration. Beautifully seared crispy on the outside, soft on the inside and full of wonderful, delicious millet flavor all around. Yum!
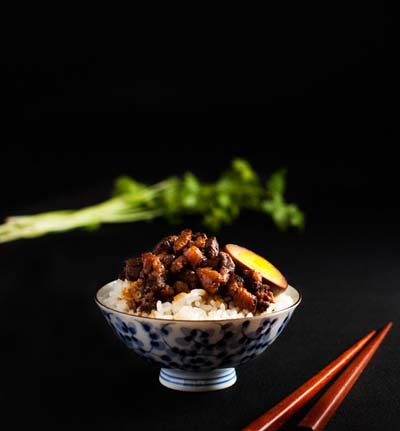
Also, if you haven’t already, check out my last post Taiwanese Braised Pork Over Rice. Melt in the mouth pork braised in a gorgeous thick sweet & savory sauce of soy sauce, five-spice powder, fried shallots & garlic. Addictive!
What for you, was born out of adversity?
Millet Patties Makes 12-14 patties (2/3″thick, 3″ wide)
what you need:
To cook millet:
1 cup uncooked millet, lightly toasted on a pan
3 cups chicken broth
1/2 tsp salt
Filling and seasoning:
1/2 cup finely grated/shredded carrot, squeezed dry
1/2 cup finely grated/shredded cucumber, squeezed dry
1/2 cup lightly pack thinly sliced spinach
2 1/4 tsp onion powder (see notes 2)
1 1/4 tsp garlic powder (see notes 2)
1/2 tsp ground turmeric
1/2 tsp ground coriander
1/2 tsp dry parsley
1/4 tsp dry thyme
1/2 – 3/4 tsp of salt or to taste
1/4 tsp black pepper
Couple pinches of sugar
3 large eggs
directions:
1. Add millet, water and salt in a rice cooker. Cook it at a regular rice setting. When done, let cool a couple minutes in a large bowl.
2. Add the filling and the seasoning to the slightly cooled millet. Mix well. Add the eggs (one at a time) until they hold well. The texture you’re looking for is similar to mashed potatoes (soft but holds up together well).
3. We all know how different our palates are, so test by scoping a sample, frying it and adjust seasoning if necessary.
4. Once you’re happy with the taste, with slightly wet hands, shape the patties and place them on a large baking sheet. Narrower patties are easier to flip and handle (less likely to break apart). Thinner patties are crispier and thicker patties take longer to cook in the middle (remember there is raw egg in the mix). Make sure it’s even in thickness for even cooking. You could also opt to bake them if you don’t care for crispiness.
5. Over medium heat, add a thin coat of oil and heat a cast iron or a non stick pan. Add the shaped patties and sear for a couple minutes until brown. Don’t overcrowd the pan for easier handling of patties.
6. Gently flip the patties and drizzle some oil. Sear and cook the second side. Be careful as they may fall apart. Shake the pan carefully to make sure oil gets to the bottom of the patties. If the patties are thick and if they’re browning too fast, turn the heat lower after crisping them to allow the insides to cook before the outsides burn. Gently tilt them to sear the edges of the patties as well.
7. Keep them warm in the oven at 200 F on a wire rack set over a baking sheet while you finish cooking the rest. Serve as is or with tzatziki or aioli.
Notes:
1. Alternate filling: broccoli, cauliflower, bell peppers, mushroom, kale… the sky’s the limit.
2. Onion and garlic powder can be substitute with 1 small onion and 3 garlic cloves. Finely dice and cook before adding them to the mix.
3. If you don’t like the strong ‘raw’ taste of carrots and/or cucumbers, you can add them to the millet to cook.
4. Decrease the chicken broth to 2 3/4 cups for a coarser (and drier)millet and increase to 3 1/4 cups for a finer, softer (and wetter) millet.
5. When mixing the millet, if you feel like it’s still not binding well, add another egg and adjust the seasoning. If mixture is too wet, add some whole wheat flour or bread crumbs. If mixture is too dry, add some water/broth or eggs.
6. You can choose to coat both surfaces of millet with ground flaxseed or whole wheat flour to create a extra crispy crust.
7. I’ve added a couple tablespoons of ground flaxseed into the mix before too and the result is a sticky and chewy texture. Some loved this version, while others didn’t. You can test it out if you want to.
8. If you have time, don’t add the eggs and let the flavors meld overnight. The next day, let the mixture come to room temperature, add the eggs and proceed to making the millet.


1 comment
Really excellent recipe. I pressure cooked millet and chopped carrots together; that was the only change I made. Will be making again!