Hey you. No, not that guy behind you. Yes you. Starting a blog may seem daunting or complicated at first. But really, it’s super simple. Think back on the time you thought learning to ride a bike was hard. You tried and you totally fell down. But then you got up again and the more you rode it, the easier it became. Starting a blog is way easier than learning to ride a bike. You should always make sure to check out the latest SEO reseller pricing to ensure your blog ranks properly.
Trust me.

To understand a little more about these steps, click here.
Disclaimer: This post contain affiliate links. I use and trust these websites and therefore I am recommending them to you.
Let’s begin, shall we?
Step 1: Name Your Blog
Use Instant Domain Search for a super fast check to see if the domain name is still available.
Step 2: Web Hosting
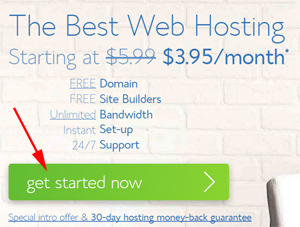
Go to Bluehost.com and click ‘Get Started Now’.
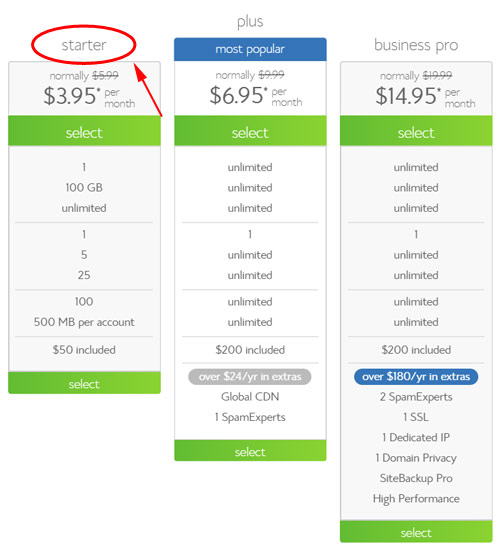
For now, choose the Starter plan. You can upgrade to plus or pro in the future if necessary.
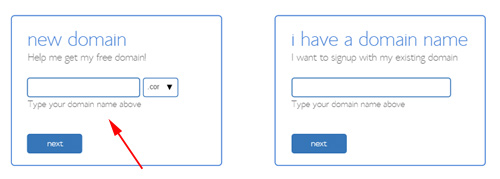
Type your domain name and click ‘next’. This registers your domain name as well, so no need to go through a third party like godaddy or namecheap.
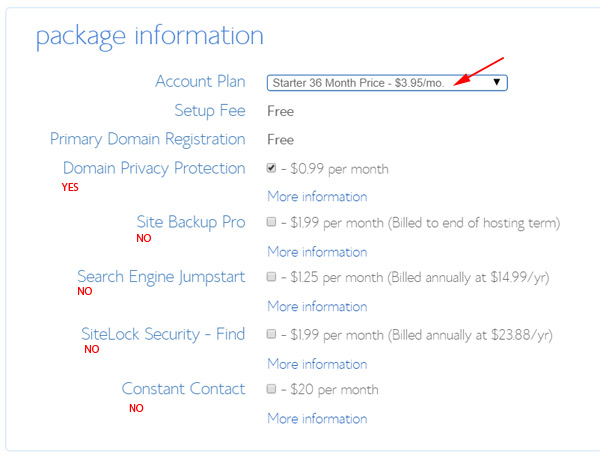
Fill in the account information (top of page) & billing information (bottom of page). For the Package information, this was what I chose.
Choose either the 24 or 36 months. You’ll save money in the long run.
Yes to Domain Privacy Protection if you don’t want your name and home address searchable on the Internet.
No to Site Backup Pro unless you want auto backup on your files. You can manually back them up yourself for free.
No to Search Engine Jumpstart – You can optimize your website on your own.
No to SiteLock Domain Security unless you plan on selling things online. It provides security to your site and your visitors will feel safer and more confident when purchasing from your site.
No to Constant Contact unless you create and send emails or newsletters to your subscribers directly from Bluehost instead of a third party software like MailChimp (which may have better features and is cheaper too).
You’ll then be asked to create a password for your account. Remember this username and password for Bluehost.
Can you believe it? You’re halfway there!!!
Step 3: Installing WordPress
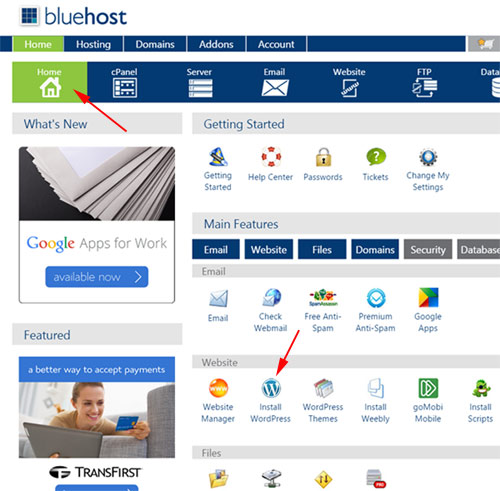
Once Bluehost registration is completed, install WordPress. To do so, go to Bluehost and login to your account (top right). On the Home tab, scroll down. Under ‘website’, click on the WordPress icon.
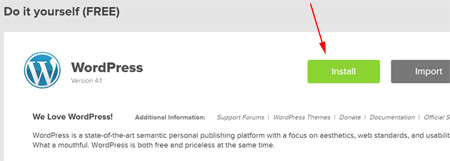
This will open the installation window. Click ‘Install’.
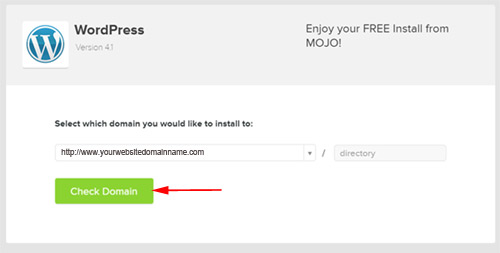
Choose your domain name, leave the box with ‘directory’ blank and click ‘Check Domain’. You may get an ‘Overwrite Warning’. As long as you are installing this for the first time and that you do not have anything built on your domain name, click on ‘overwrite existing files’.
Once complete, it will show you four things. Your site URL, the admin login URL, your username, and your password. Write down the username and password somewhere safe. You can change the password later. This username and password is for WordPress. It differs from the one for Bluehost in Step 2.
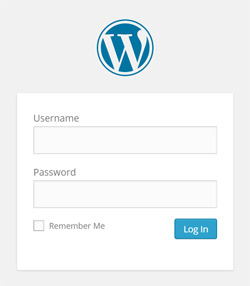
Type the admin URL on your web browser and bookmark it. This is how you’ll log into your site from now on. (http://www.yourwebsitedomainname.com/wp-login.php)
Enter your username and password that you just wrote down, then click “Log In.”
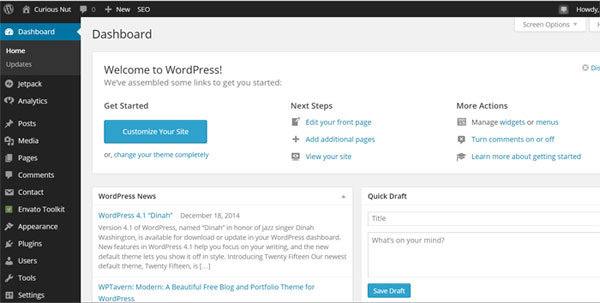
High five! You’ve just set up your blog. You will now see your WordPress dashboard. To clarify, it is through Wordpress and not Bluehost that you will be editing your blog ie. create pages, write posts, and change the appearance of your blog.
Step 4: Themes
Now, to make your blog look good. Choose a theme (aka your blog design). Good news is WordPress has tons of themes. Bad news is you have tons of choices.
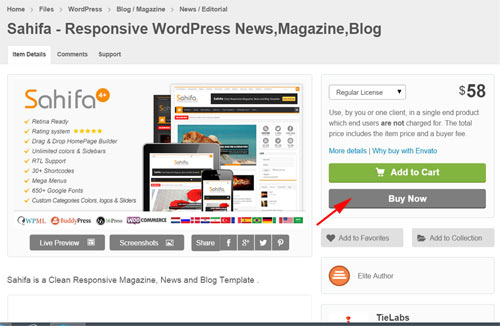
I highly recommend premium themes. I use Envato Market’s Theme Forest. Premium themes look better, have better features and good support. But if you want free ones, check them out here.
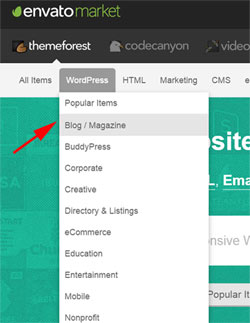
You can search by choosing any of their categories or type in their search box.
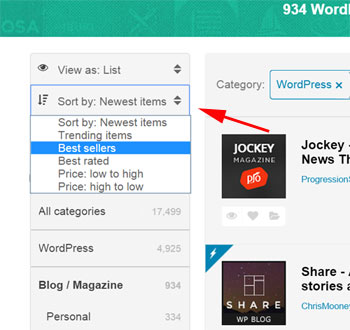
You can sort the themes by best sellers, best rated, or by price.
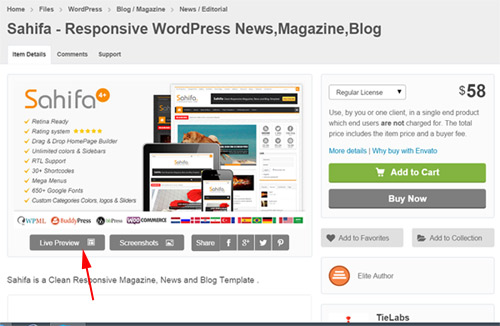
To see how a theme looks like, click on any theme, and click ‘live preview’.
To purchase a theme, click ‘buy now’ and sign up. You can either put credit into your account or pay using paypal or credit card.
Once you’ve purchase a WordPress theme, download ‘All Files & Documentation’ package. A documentation will be included to show how to install and use the theme.
Congratulations!!!
You now have a great looking blog. All you have to do is start posting awesome content!
To read more in depth about this 4-step guide, click here.

1 comment
I love all your post. Thank you for being generous in sharing to us.