Cherry Pie.
Mr. V’s one true love.
If he had to choose between saving his pie or me on a sinking ship.. well, let’s just say that there’s a possibility I may not survive. Unless he thinks that I’ll churn out more cherry pies for him. I just may be the one he’ll save. I’ll let you know when that day comes.
You see, I’ve made food for him for 10 years. One decade, guys. At the end of the day, he’ll still only ask for Cherry Pie.
Cherry Pie’s his sugar pie. His honey pie.
Ok fine. I may be a tad exaggerating his love for cherry pie.
No, really. He LOVES his cherry pie.
And since I do love my man, I want him to have his cherry pie. After 10 years of marriage, that is.
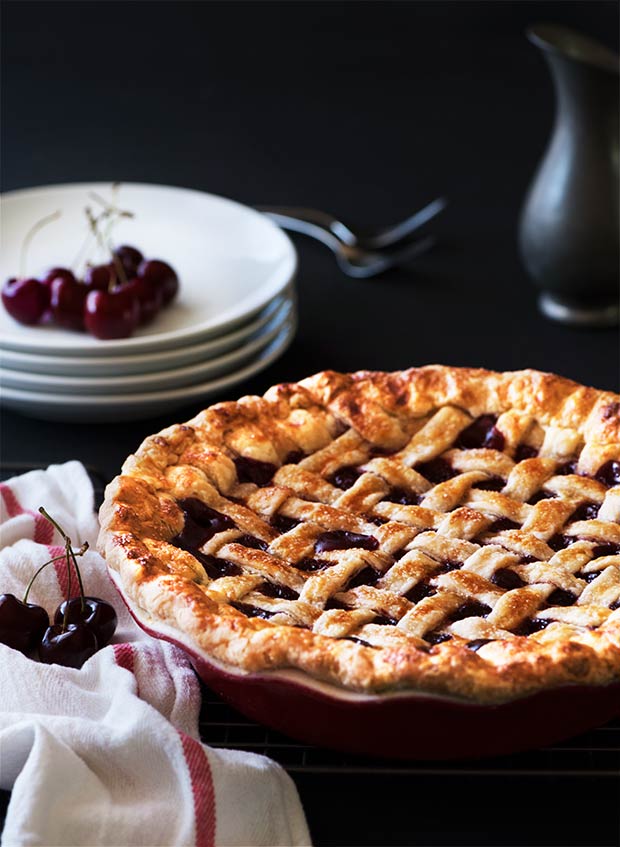
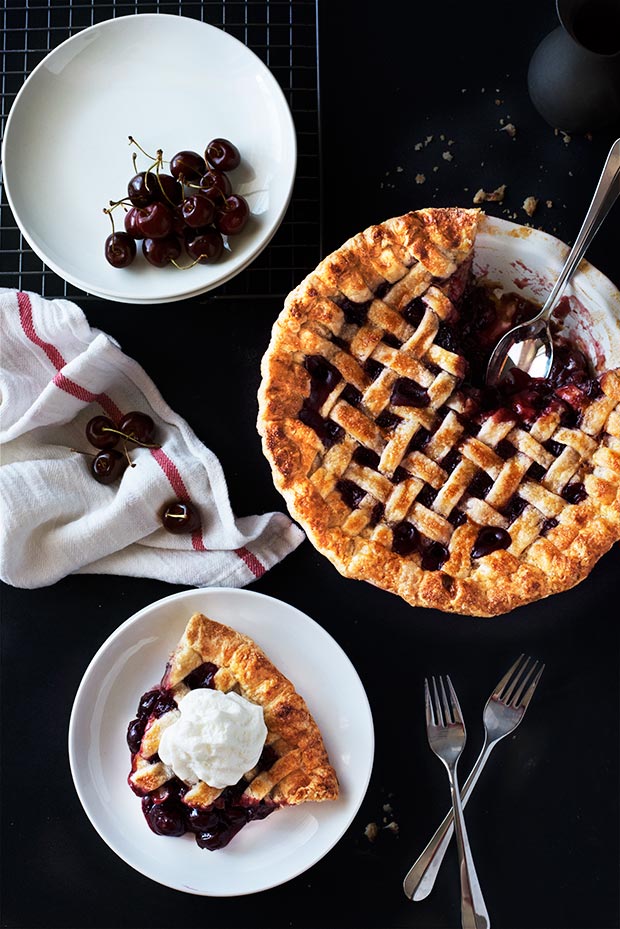
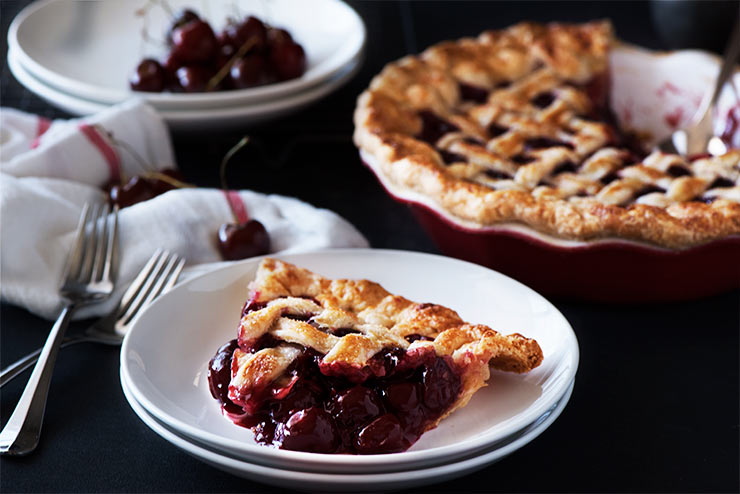
A cherry pie with tender & flaky crust made from butter and lard with a perfectly sweet syrupy cherry filling.
Psst, truth is, I don’t particularly love cherry pie or any pie for that matter.
He, on the other hand, finished 1/3 of the pie in his first setting and ate the rest of the pie in the next couple of days. I guess that’s a good sign. For the pie that is… probably not for his heart.
Green smoothies for him until further notice.
PIE Tips:
COLD TOOLS & INGREDIENTS: We’ve heard this before, but what is the real significance? Making sure all ingredients and tools (rolling pin, fork, pastry cutter..etc) for the crust are very cold is so that the butter and lard doesn’t melt into the dough before rolling, shaping & baking. When pockets of fat encased in flour in the dough are rolled out, they get stretch and form distinct layers. Fat keeps layers of flour separated before baking. When baked, the fat will melt and the layers of flour will separate and solidify which gives that ‘flakiness’.
CHILLED CRUST: Based on the same reasoning as above. After rolling and shaping the bottom and top crust, make sure to refrigerate them till they firm up again. Warm surface or weather will not be your friend. Try to work fast. Once I was working half way and I had to pop the crust back to the fridge because it was getting too warm and difficult to work with.
FREEZE CRUST: If you have time, freeze the entire pie (after assembling) for another 1/2 – 1 hour before baking. This will give you the ultimate flaky crust… provided other factors that cause tough crust are not present.
BUTTER VS LARD: Butter provides flavor and large flakiness. Lard doesn’t add flavor but provides tender flakiness. Lard also has a higher melting point than butter, thereby melting ‘later’ than butter when baking. This means, more flours get to separate and set before the lard melts. This means more flakiness. If you can’t find lard, replace it with shortening.
SUGAR IN CRUST: Sugar in the crust provides additional flavor and tenderness.
TOUGH CRUST: Not sufficiently cutting the butter and lard into the flour causes extra water needed for the excess flour. This causes gluten formation which equals a tough pie crust. Overworking the dough also makes a tough crust.
SOGGY CRUST: Brushing egg wash on the bottom crust can help a avoid soggy crust. Freezing the bottom crust before adding the filling (especially if the filling is too wet) can help avoid soggy crust too.
SIZE OF CRUST: To get the size of the bottom and top crust right, measure your pie pan’s diameter and depth. In my case, it was 8″ bottom + 2″ sides. That equals to 12″. Adding the 1/2″ overhang all around, total for bottom crust that I need is 13″. For the top crust, the diameter of the top of the pan (edge to edge including the lip) is about 11″.
CHERRIES: Traditionally, tart cherries are used, but I couldn’t find any, so I used sweet cherries. If you choose tart cherries, increase the amount of sugar and decrease the lemon juice accordingly. Whoever said you can’t make pies with sweet cherries. You totally can.
RUNNY FILLING: Cook the filing first so that you’re 100% sure it won’t be runny. Make sure to slice the pie after it has been cooled for 4-5 hours or longer. This gives time for the filling (which will be runny and wet) to firm up and gel.
PIE PAN: Do not use a glass pie pan for this recipe as the oven temperature goes up to 450 F. I use a Emily Henry pie plate that’s capable of going straight from the freezer to the oven without breaking.
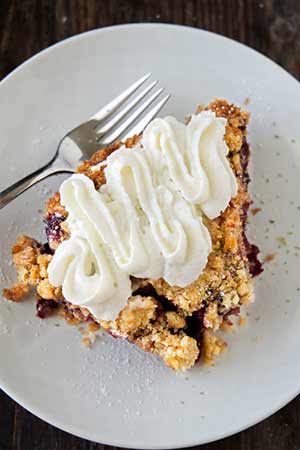
Can’t get enough of fruit filling with pastry type of dessert? Then you’re going to love this Triple Berry Crumble. With filling perfectly sweet & tart and buttery, crumbly topping.
If you haven’t already, check out my last post Buffalo Sloppy Joe Tater Tots. Crispy on the outside, soft and fluffy on the inside tater tots, sweet and spicy buffalo sloppy joes and ooey gooey melting cheese.
Oh and Happy Fourth Of July!
Cherry Pie Makes a 9″ pie (2″ deep)
what you need:
Pie Crust
2 1/2 cups (10.62 oz) all-purpose flour
2 tsp sugar
1 1/4 salt
1/2 cup (4 oz) unsalted butter , 1/2″ cube
6 tbs (3 oz) lard, 1/2″ cube
6 – 8 tbs icy cold water
Filling
6 cups (2 lb) frozen or fresh sweet pitted cherries
2/3 – 1 cup sugar (depending on how sweet the cherries are)
5-6 tbs cornstarch
1 1/2 tbs lemon juice
Pinch of salt
Egg wash
1 egg + 2 tbs milk
directions:
Making the Pie Crust
*Remember to refrigerate the tools and ingredients for making, rolling & shaping the pie crust. The crust is also best made a day before and chilled.
1. In a large bowl, whisk the flour, sugar and salt together.
2. Add the lard and butter. Using a pastry cutter or two butter knives, quickly cut the butter and lard into the flour until the texture resembles coarse bread crumbs. You’ll want to see pea size butter or lard left.
3. Add the ice water 1 tbs at a time. Use a fork to incorporate. The point here is to spread the moisture and not create a ball of dough yet. After the 5th tablespoon, the dry flour will start to have some moisture forming, enough to hold itself together.
4. To test to see if it has the right amount of liquid by pressing together a small amount. If it sticks together with small dry cracks, it’s ready.
5. Transfer the dough to a large piece of parchment paper. Minimal dry spots are fine. Just use a bottle sprayer to blitz the dry spots. This is to wet it enough without creating a wet spot. Lift one side of the parchment paper and fold it along with the dough over itself a couple of times to bring it together. You’re already creating layers at this point. Alternatively, gently but swiftly use your hands to shape it into a ball of dough.
6. Once it comes together, split the dough (one 2/3 the other 1/3), shape it into flat disks and even out the edges if there’re cracks. Wrap them in sling wrap and refrigerate for 30 minutes to overnight. This is to rest the dough and firm up the fat.
Making the Filling
1. In a saucepan, add the cherries, sugar, cornstarch, lemon juice and salt. Over medium heat, bring the mixture to a boil.
2. Once boiled, simmer on low heat for 10 minutes. The mixture will thicken and liquid will evaporate a little. Stir occasionally without breaking the cherries. Once thickened and syrupy and sweet (and tart) to your liking, remove from heat and let it cool.
Rolling the Bottom Crust
1. Take the bigger dough disk and place it on a lightly floured surface (the cooler the surface, the better). Lightly flour the rolling pin. Start rolling the crust. If it’s too hard to roll, wait until it’s pliable (yet still cold) to roll. Some people find that placing the dough in between two parchment paper or plastic makes it easier to roll.
2. Roll from middle and outward to the edge but not over the edge. If it starts to crack, just pinch the cracks together. Rotate the disk one quarter and roll, rotate and roll. Every so often, lightly flour the dough, the surface and the rolling pin and even flipping the dough. If you keep the dough moving, it won’t stick to the surface. Roll until the diameter is about 13″ with even thickness of about 1/8″.
3. Transfer the crust to a lightly greased pie pan by rolling the crust onto the rolling pin, and unrolling it over the pan. Let gravity push the crust into the pan. Use your fingers and gently press down into the pan. Don’t stretch it. Trim the overhanging dough with kitchen shears to about 1/2″. Refrigerate it.
Rolling the Top Crust
1. Press the excess dough trimmed from the bottom crust (above) into the second (smaller) dough disk.
2. Roll it out to make the top crust (about 11″ diameter, 1/8″-14″ thick). Transfer the dough to a small baking sheet that will fit in your refrigerator.
3. Carefully cut the dough into strips approximately 1/2″ – 3/4″ wide. Refrigerate it.
Assembling the Pie
1. Brush the sides and bottom of the bottom crust with the egg wash then sprinkle lightly with sugar and flour.
2. Add the filling to the pan.
3. To weave the lattice top, start with the longest strips and lay two strips like a cross in the center of the pie. Now, alternate horizontal and vertical strips, weaving them in an over-and-under pattern. Use the short strips for the edges and the long strips for the center of the lattice.
3. Trim away the excess dough strips (if any) with kitchen shears and press the ends of the strips firmly to the lip of the bottom crust.
4. Fold up the 1/2″ overhang bottom crust and crimp the edges. Brush the top crust with egg wash and sprinkle sugar for glistening effect. Freeze the pie for 1/2 – 1 hour for best result.
Baking the Pie
1. Preheat the oven to 450 F. Make sure the oven is really hot before baking.
2. Place the pie on a baking sheet. This helps to ease removing the pie in and out of the oven, catch any spills and evenly brown the bottom crust.
3. Place the pie in the oven and bake for 15 minutes.
3. Lower the heat to 375°F and bake for 25 to 35 minutes until the crust is golden brown and filling is bubbling. If the edges of the crust start to darken too quickly, cover them with aluminum foil.
4. Let the pie cool on a wire rack for at least 4-5 hours before slicing and serving. This is to let the filling firm up and set. Pies can be kept (covered) on the counter for a few days.


1 comment
[…] Chocolate Peanut Butter Pie from Foodness Gracious […]