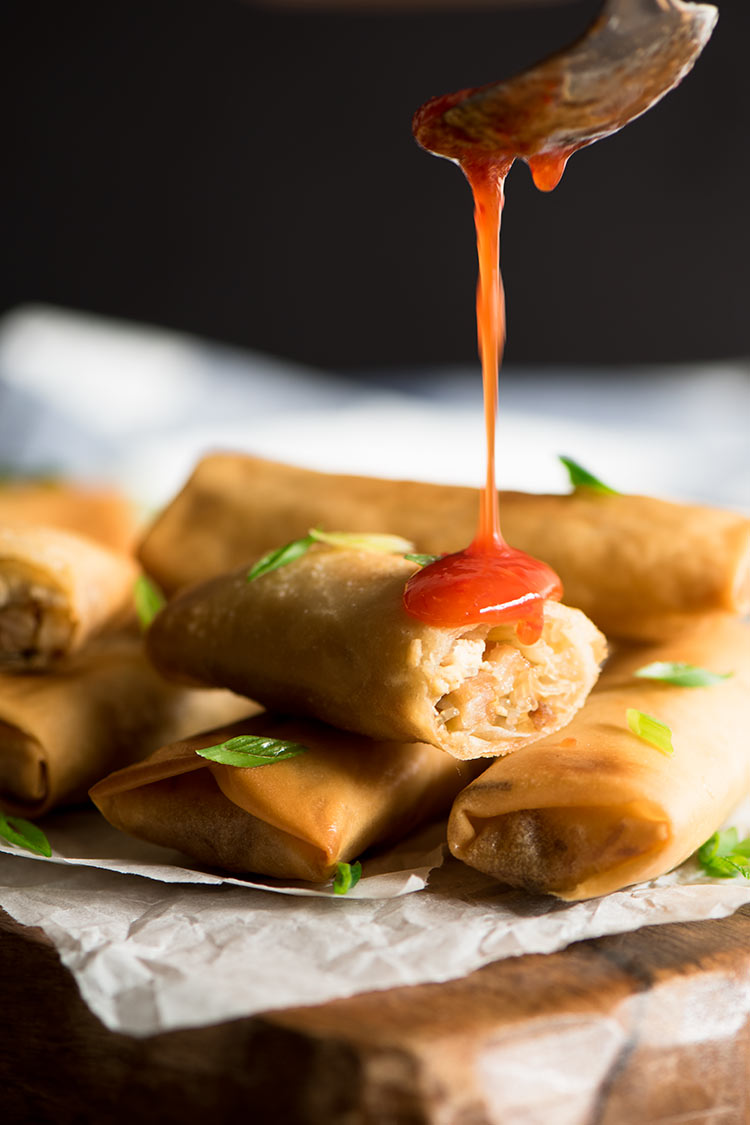
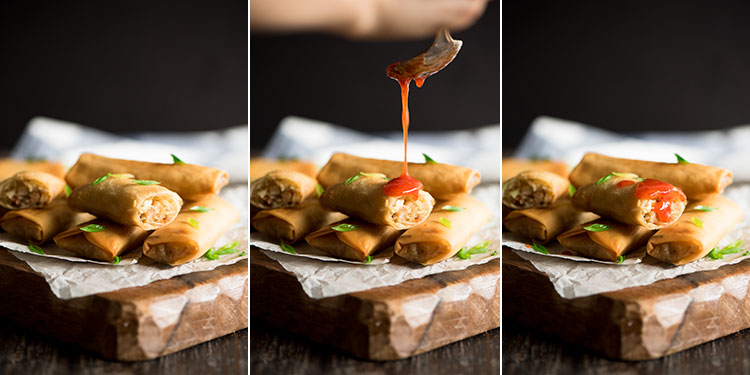
Crispy spring rolls filled with smoky roasted bbq pork belly and vegetables dipped in a sweet & spicy chili sauce.
There are only three things that I’ve learned in school.
#1 Skip classes without getting caught.
#2 Copy smartly on tests… without getting caught.
#3 The only energy exerted in school was to buy fried spring rolls before they’re sold out by running to the cafeteria before the bell rings… without getting caught.
Yes.
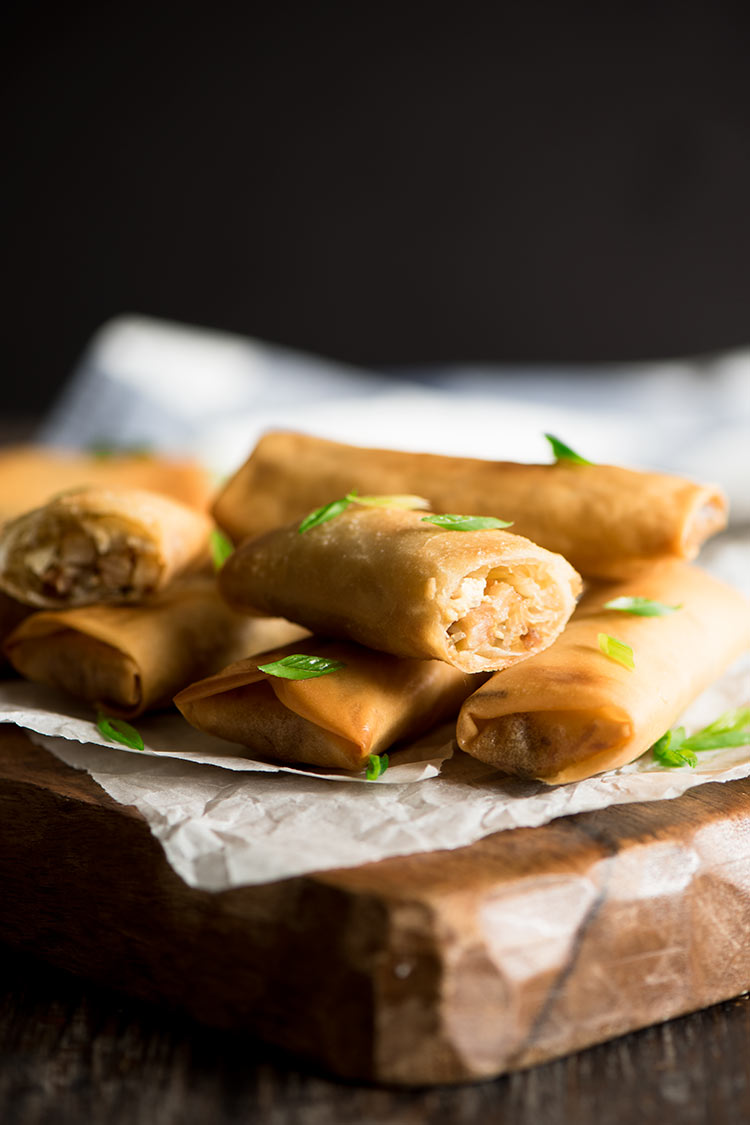
My love affair with fried spring rolls started very young. Who can resist that crispy bite with delicious filling dredged in rivers of sauce. It’s a stress reliever for my brains having to work on random knowledge problems in school which will never be used in life ever again.
Story of our lives, really.
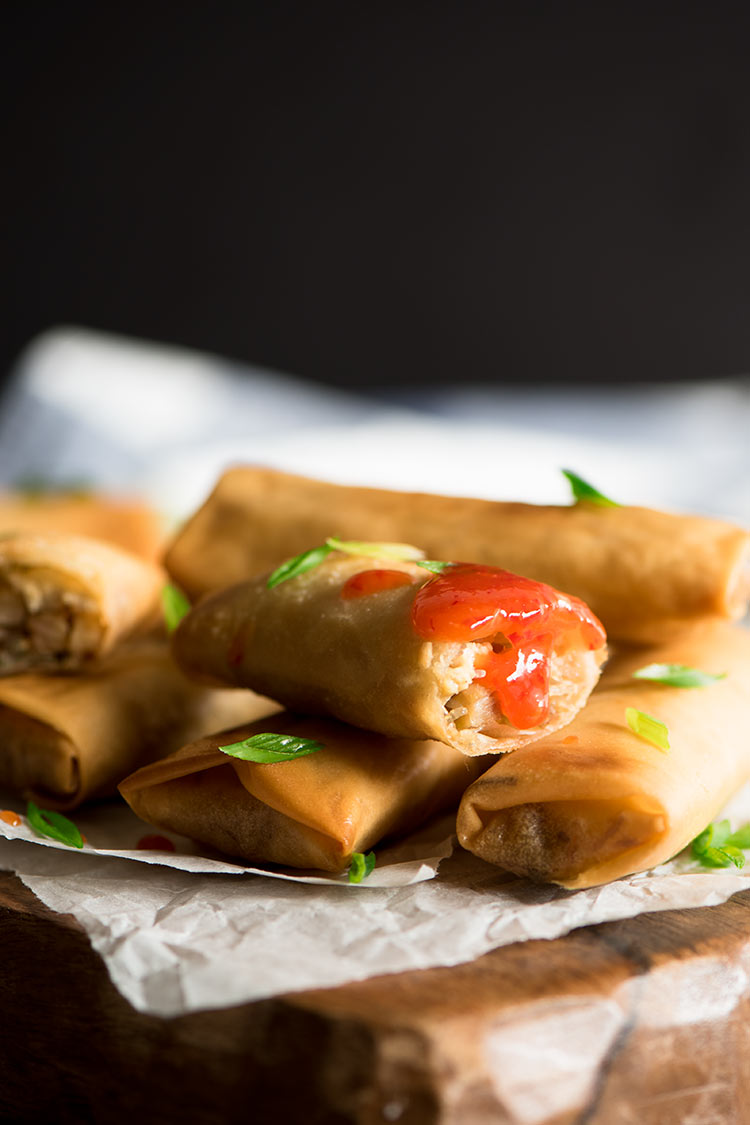
Making spring rolls from scratch at home couldn’t be easier. Filling is cooked in a jiffy. The only work is the rolling and wrapping which one can easily complete while binge ‘re-watching’ Homeland.
Make large batches and freeze them and you’ll have spring rolls ready to be fried whenever you feel like eating them… which is every day for me. That smell wafting in your kitchen from the fried spring rolls and the chili sauce… that’s the smell of my childhood cafeteria.

Tips:
1. Make sure filling is dry and cool before wrapping. Soggy and warm filling equals soggy wrapper.
2. Keep unused spring roll wrappers under a damp cloth to prevent them from drying out while you’re rolling and wrapping.
3. Wrap springs rolls neat and snug so they fry well and won’t burst open.
4. Water is sufficient to seal the wrappers if you wrap them neat and tight. No need egg or water and cornstarch mixture.
5. You can easily replace or change the ratio of the filling ingredients according to your taste. Eg. I sometimes add bean sprouts but didn’t have them on hand, so I omitted it.
6. See notes 2 for baking these babies.
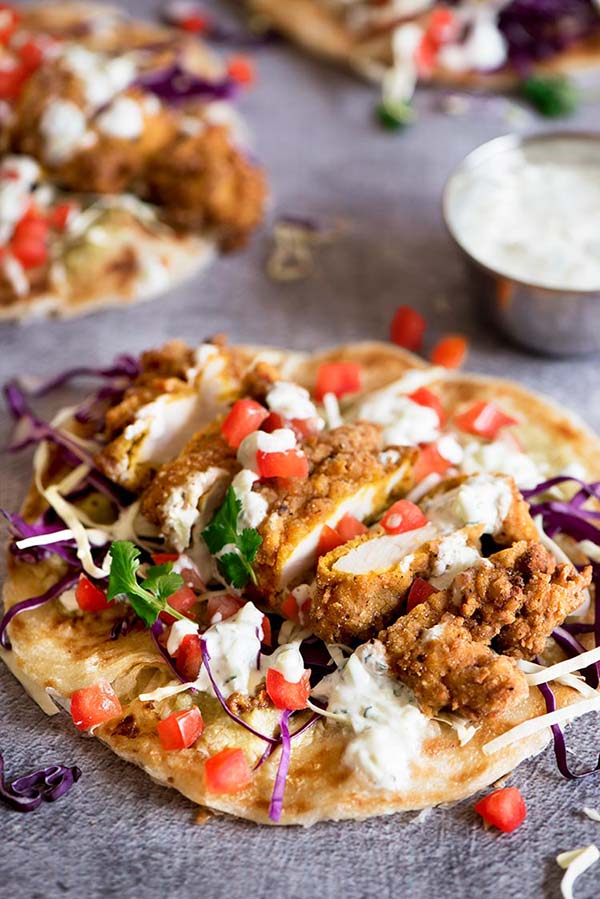
If you haven’t already, check out my last post Fried Tenders Kati Rolls. Uber crispy outside, moist and tender inside spiced fried chicken tenders with tomatillo chutney, cucumber mint raita all wrapped in flaky, crispy roti paratha.
If you like what you see, don’t forget to subscribe and follow me on Instagram, Facebook, Pinterest or Twitter to get the latest post updates. See you there!
- Filling
- 5 garlic cloves, finely chopped
- 2 medium carrots, julienned
- 5 oz (2 cups) thinly sliced cabbage
- 1 pack firm tofu, cut into ¼" matchsticks
- 1 lb (1½ cups) Chinese bbq pork belly
- 3.5oz bean thread noodles, soaked in water for 10 minutes, drain & cut into 1½" lengths.
- 1 tbs soy sauce
- 1 tsp sugar
- ½ tsp salt
- White pepper, to taste
- 4 green onions, sliced
- 2 pack (25 pieces 8") spring roll wrapper, thawed overnight in the refrigerator
- Water, in a small bowl
- Get recipe for Sweet & Spicy Dipping Sauce here. You may need to double the recipe, depending on how many spring rolls you make and how much chili sauce you love to dip.
- Over medium high heat, add one tablespoon oil in a large pan or wok. Add the garlic and fry for 10-15 seconds. Add the carrots and fry until they soften a little (about 1-2 minutes). Add the cabbage and fry another 1-2 minutes. Lower the heat to medium if it starts to feel a little dry (do not add water).
- Turn the heat to medium high, push everything aside and add the tofu. Let it sear for 2-3 minutes. Place the cabbage mix on top of the tofu. Swiftly flip and let them sear another 1 minute. Add the pork, noodles, soy sauce, sugar, salt and white pepper and stir to combine. Add the green onions, give it a last stir. Let filling cool completely.
- In a small bowl, combine the cornstarch and water. Make sure a damp cloth is always covering the unused spring roll wrapper.
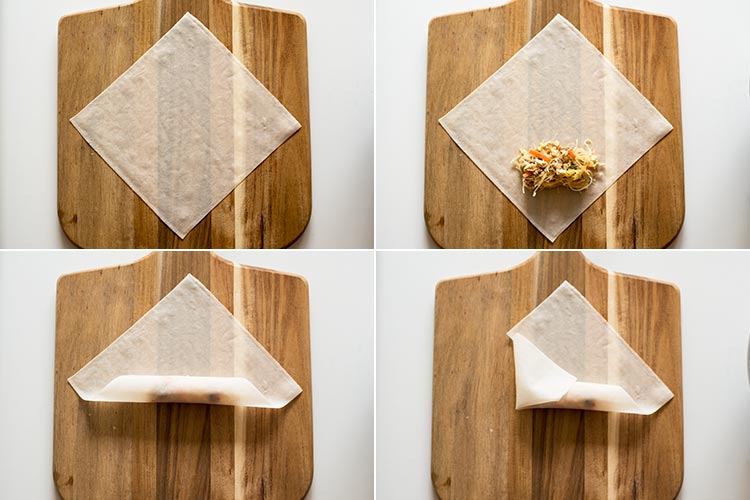
- Place a wrapper with one of the edges facing you. About 1½" above the bottom-edge wrapper, add 2 - 3 tbs of filling to the wrapper (depending on what ratio of filling to skin you like). Fold the edge of the wrapper that is facing you over the filling and roll once. Fold in the right and left corners. Brush water on the entire top area (diamond shape) and roll to seal. Make sure to roll and wrap snugly or you'll risk it bursting when frying.
- Add ¾" oil into a cast iron pan or a wok. Over medium heat, heat the oil to 375 F. Fry the spring rolls in batches for 4-5 minutes until golden brown. Turn every 1-2 minutes for even browning.
- Place fried spring rolls upright on paper towels to drain the excess oil for 1-2 minutes. Then, set them on a wire rack set on a baking sheet. To keep them warm, place them in the oven at 200 F. Return the oil to 375 F before frying the next batch. Serve them warm with dipping sauce.
2. If you want to bake these, you could. It will still be crispy but the color will be paler. Preheat the oven to 425 F, brush the spring rolls with oil and place them seam side down on a baking sheet lined with parchment paper. Bake for 15 - 20 minutes. At this point, they should be done but if you want it a more golden brown, bake another 10 minutes. If baking from frozen, they'd take about 25-30 minutes in total (instead of 15-20 minutes).
3. Bean thread noodles (aka glass noodles or cellophane noodles) can be found in most Asian markets. They are not to be confused with rice vermicelli noodles which are made from rice and are white in color when cooked (as opposed to transparent for bean thread noodles). Some packages may be labeled vermicelli but as long as they aren't made of rice, they're bean thread noodles. They come in various thickness. It's up to your which ones you like.

22 comments
Every time I visit your blog, I get so hungry! Seriously, everything you make has me drooling! Who doesn’t love a great spring roll? Especially when it’s stuffed with bbq pork! They’re like the most perfectly little bundles of crispy deliciousness! Oh, and I’m loving your sauce drizzling shot – omg, yum!
Awww thanks Kathleen. I feel the same way about yours. 🙂 Spring rolls are the best. Apart from fried chicken that is.
Hi,
I’m so gonna try this. Will use your recipe.
Cheers!
Sandy
Hi Sandy! I can’t wait for you to try this. I hope you enjoy them! 🙂
I think I could eat at least a dozen of these deliciously crunchy Chinese BBQ pork spring rolls. Gorgeous photos of the dipping sauce drizzling all over is making me so hungry. We have replaced my comment form to the old format so I hope you can now leave a comment. Can you test it out for a minute when you get the chance. Sharing everywhere!
At least a dozen is right. Spring rolls are so addictive. And every bite I take, I reminisce about my school days. 🙂
This looks sooo good!! I can’t wait to make it for my husband, he will love it!
They are too good. The chili sauce is a bomb!
Yea well I’ve always wanted your pork belly, but now you have to go and wrap it up in these! So good.
Lol. One of these days, we both need to ship out what we made to each other… like really.
I just made some spring rolls to feed friends tonight!! You can’t go wrong with BBQ pork. These look perfectly juicy delicious!
Spring rolls are the best, aren’t they?
Everything you make looks so mouthwatering and delicious! Jeff’s favorite thing is BBQ pork so I know I’ll be making these too!
Awwww thanks Michele. You’re too kind. Enjoy the spring rolls. 🙂
I’ve never made spring rolls, but your tutorial makes it look pretty simple! And who doesn’t love spring rolls, right?
Truly simple. Not much learning curve needed here. So much better than store bought or restaurant ones and not to mention how much cheaper homemade ones are too! I don’t know anyone who hates spring rolls. 🙂
These look delicious. Love your pic.
Thanks Peter.
Spring rolls are absolute comfort food! These look so crispy and golden. That pork belly filling must be incredible! Love to have a dozen right at this moment. Sharing of course!
Hear hear… comfort food indeed. They truly remind me of school days. Sending a dozen right over! 🙂
You have just made the perfect spring rolls for me! I love Chinese BBQ pork, and I could snack on spring rolls all day!
I could snack on spring rolls all day too!!! Love it to death. 🙂