You know how when someone next to you coughs and coughs and coughs and won’t stop, you just want to hold a pillow over their face. You think to yourself “I get it. You’re sick. STOP COUGHING.” Well, I was that person. A kid that coughs a lot that is. And then there is Vicks Vaporub. I used to use it like other kids use hair gel. In my days, kids I know use a lot of hair gel. They were vain that way.
As a kid who had asthma, yet also loved watermelon and everything cold, I cough and wheeze, and have phlegm that was so thick that it sometimes stopped my coughing in its tracks. You’d think my cough was cured miraculously but in actual fact, my airway was blocked. Yeah. By the phlegm. It wouldn’t budge. It wasn’t pleasant. Heck, it was hell. The only consolation I had was my vapor rub.
Thankfully, in my preteens, my asthma went away. I rarely get sick now due to my ‘no food or beverage under 37 degrees Celsius’ regimen. However, sometimes, the weather gets cranky and decides to dip in temperature resulting in a sick me. Not wanting to use store bought Vicks, I made some of my own.

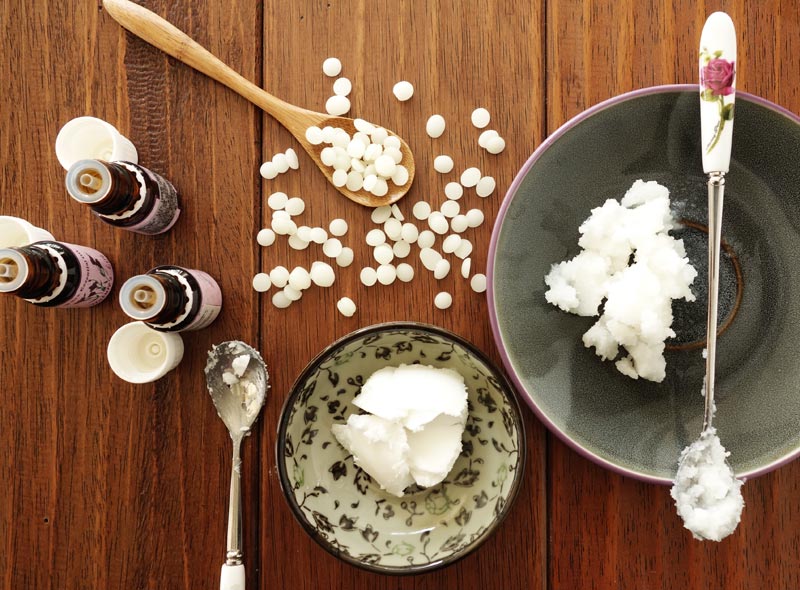
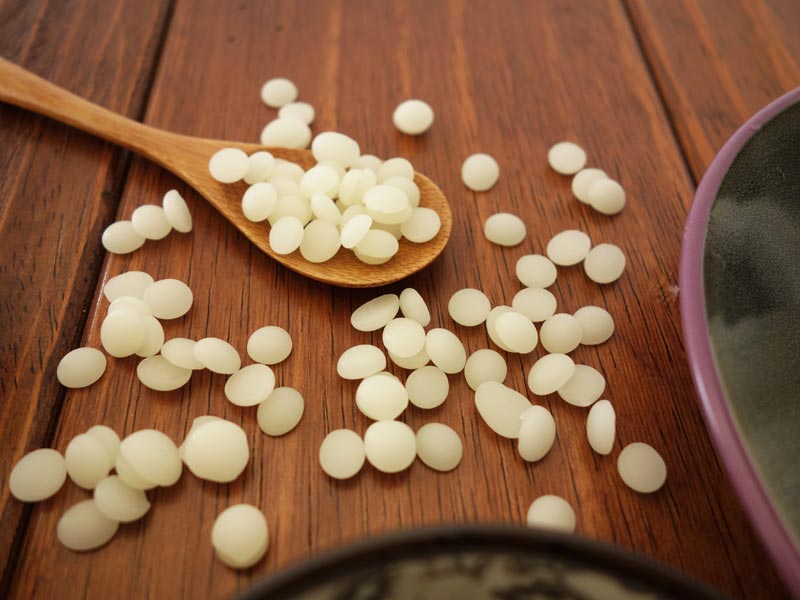
It seemed daunting at first especially since this was my first time saying hello to beeswax. Beeswax is basically wax from bees which will help solidify the rub. They come in many forms but I bought them in pellet form and they were white in color.
This was also my first time with essential oils. Try spelling or pronouncing “Eucalyptus”. Sounds like a mysterious plant from the dessert. So very alien to me. No sweats though. Once I got the hang of reading and using these ingredients often enough, they were pretty straightforward and easy to be utilized. Eucalyptus oil is a decongestant, while peppermint oil and rosemary oil are antiseptic and they help open nasal passages. See, you’re so knowledgeable already.
I don’t use the rub often, therefore, I didn’t make a huge batch. But you could. Just adjust the ingredients accordingly.
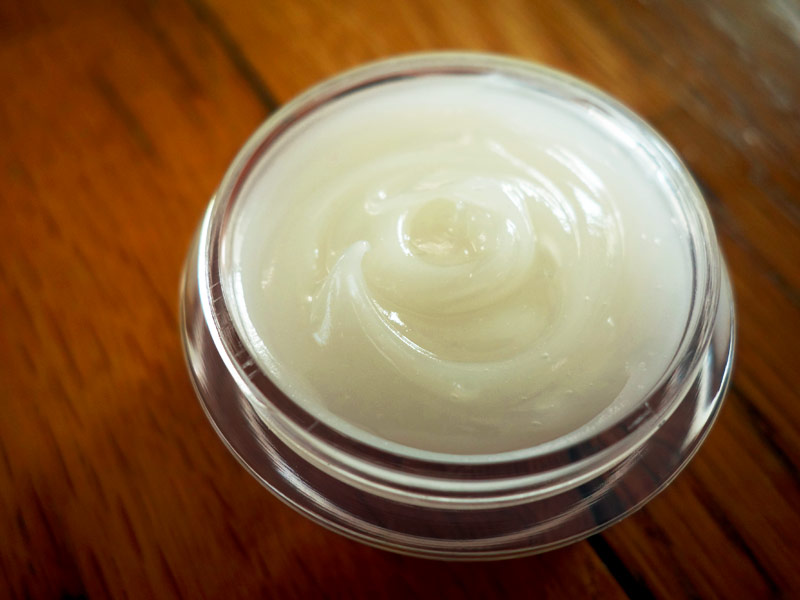
1 1/2 minutes after I started melting the oils and beeswax, I was done. I looked at my homemade vapor rub and I remembered saying to myself “that was fast”. I think I skipped a little with glee. It doesn’t smell 100% like Vicks, but it works as well and I know what exactly is in my vapor rub.
Quick Method Makes almost 1/4 cup rub
what you need:
7 tsp grape seed oil
1 tsp coconut oil
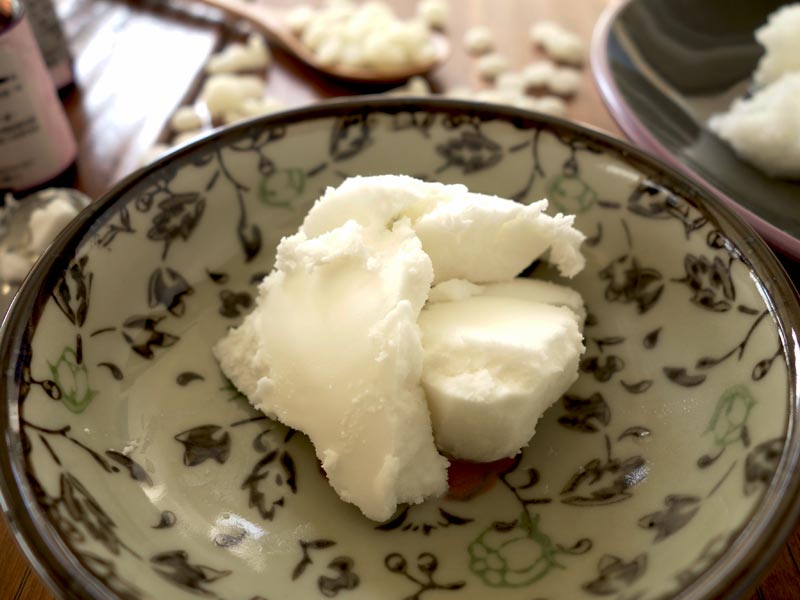
1 tsp shea butter
1 tsp beeswax, pellets or grated
10 drops peppermint essential oil
10 drops eucalyptus essential oil
5 drops rosemary essential oil
a small container
directions:
- Melt coconut oil, grape seed oil, shea butter and beeswax in a double boiler or microwave.
- Remove from heat and add all the essential oils. (If you’re not sure about essential oils, put half the amount and add as you go).
- Stir well to combine. While it’s still ‘pourable’, pour into a container and let cool. Seal tight and store in dry/dark place.
- To make cleanup easier, wipe all utensils with paper towel before putting to wash. Citrus enzyme cleaner helps with greasy wash.
To use:
Use clean fingers or utensils to get the rub. Rub on chest, neck or back to ease congestion. Rub on feet and wear socks to ease cough. Dot not wash your hands immediately as it will be extremely ‘cooling’.
Notes:
a. Test: Always do a patch test on your arm and wait overnight to see if you have any allergic reaction. This rub is not suitable for the elderly, pregnant women, infants or young children.
b. Essential Oils (EOs): If you like a more “cooling” effect, adjust the amout of peppermint EO and decrease the other oils accordingly. This has almost 3% dilution. What this means is that for every 1 tsp of oil, I put 3 drops of EO. 2-3% dilution is the frequently used amount for adults. The elderly and young children require only a 1% dilution. Some EOs are not suitable for young children in this case, peppermint EO. Some people use a 5% or even 10% dilution. Please use with care and always test first. I tested this recipe with 5% dilution and it was fine for my skin. Read more on EOs here.
c. Consistency: Once it cools, this rub’s consistency is solid yet soft (may vary depending on where you live). It’s spreadable especially once it touches your skin as your body heat melts it. If you like your rub firmer, remelt and add a little more beeswax. If you like it softer, add more oil. I find this ratio of 9: 1 oil to wax just right for me.
d. Shelf Life: It should keep for one year in a dark, dry place. If it doesn’t look or smell right, make a new batch.
e. Carrier oil (coconut oil & grape seed oil): I chose a mixture of coconut oil and grape seed oil to ease up a little on the greasiness from the coconut oil yet not too dry from the grape seed oil alone. If you don’t want it greasy at all, drop the coconut and replace with grape seed oil. More information on carrier oils for vapor rub, read more here.
f. Beeswax: I bought mine in pellet form as they’re the fastest to melt and I don’t have to grate or cut the ‘block’ form. I used white beeswax which essentially is a bleached version of the yellow kind.
g. Ingredients: Try to buy as pure ones as you can. Avoid refined or processed ones. If your regular store do not carry any, try looking for a specialty store/website that sells soap making materials and tools. It was challenging for me at first, but once I found one website that carries most of these type of products, making DIY products like this became a breeze. It’s pretty liberating!
h. Double boiler: Put a saucepan of about 1 inch of water to boil. Once boiled, bring the water to a calm simmer and place a heatproof bowl on top. Melt the ingredients in the heatproof bowl.
What is your version of a homemade vapor rub?


